Spaces
From the site structure menu, you can navigate to Spaces, Smart Spaces, Space Settings, or Topic Settings sub menus
Access from the Admin Console
Location: Content > Site Structure > Spaces
Overview
In addition to being able to set space permissions from the Users & Groups category, you can also set or modify a group’s permissions for any space from within Manage Spaces in the Content category.
Admin Actions Available from the Smart Spaces Menu
- Move Spaces
- Delete Spaces
- Edit Space Details
- Manage Space Permission Options
Move Space
To move a space, perform the following actions:
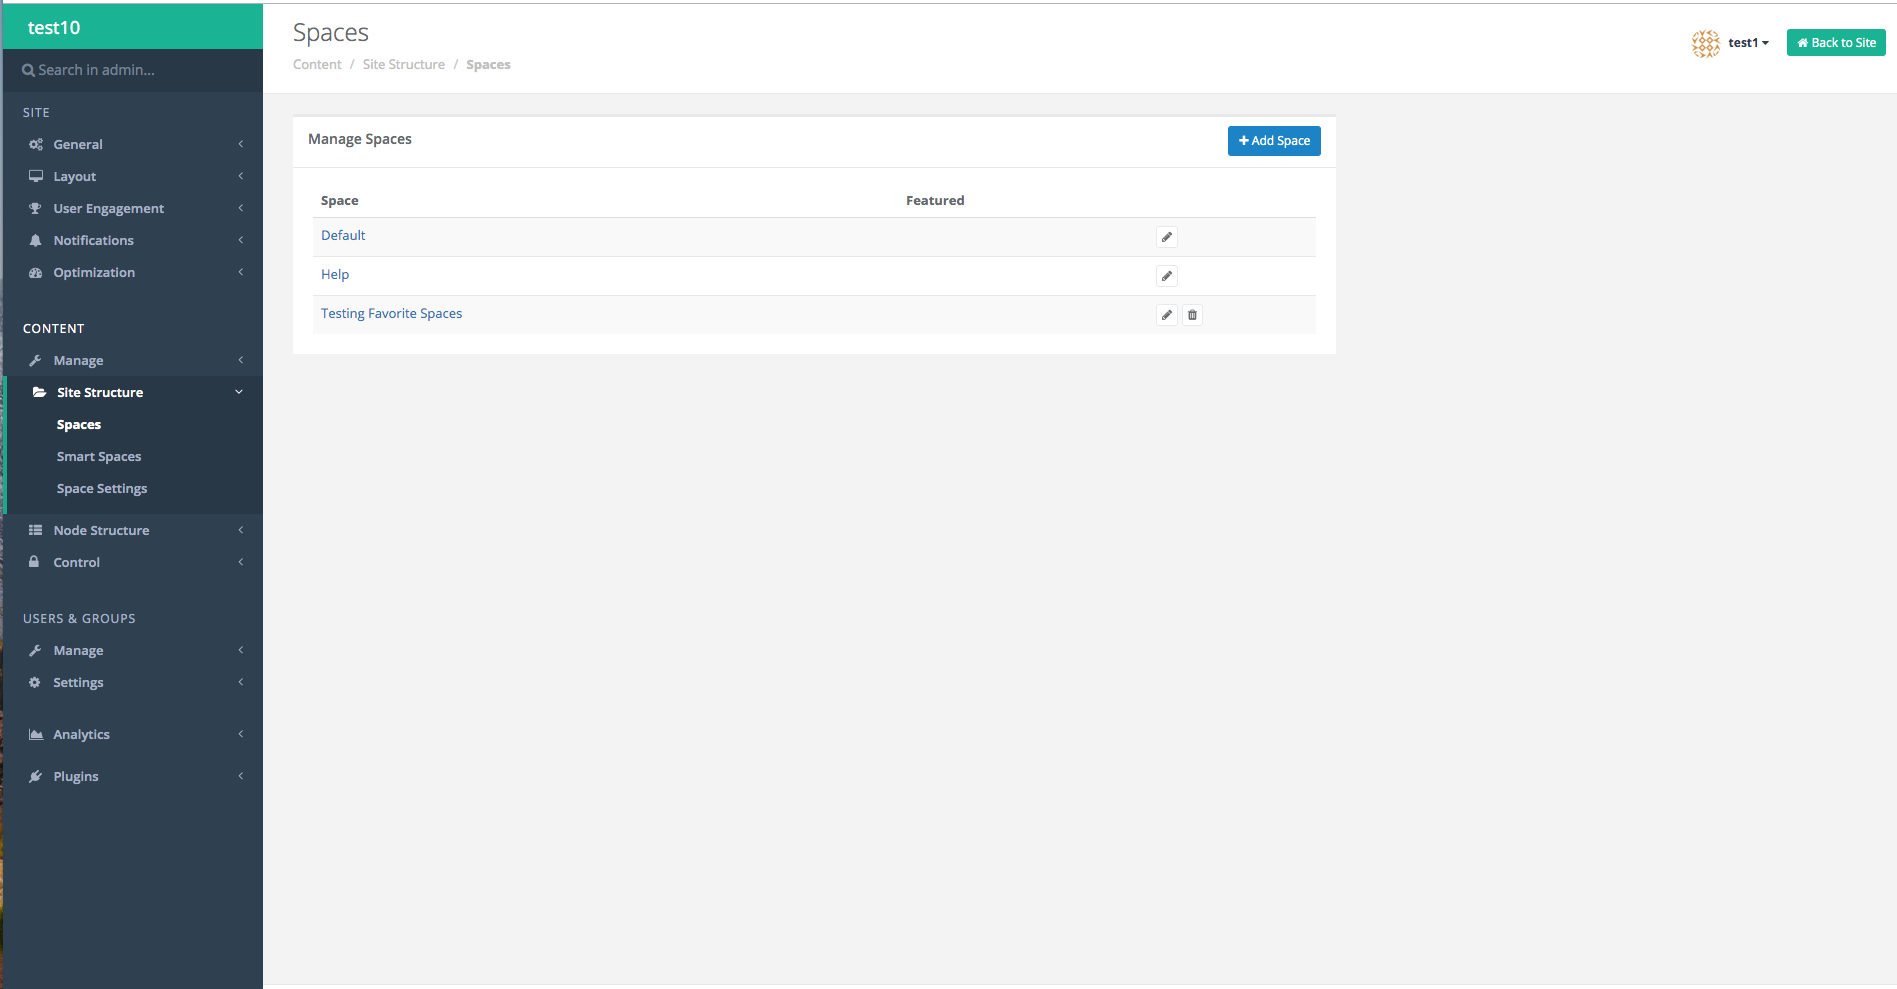
- Locate the space that you would like to move, then click the edit (pencil) icon at the end of the row for that particular space name.
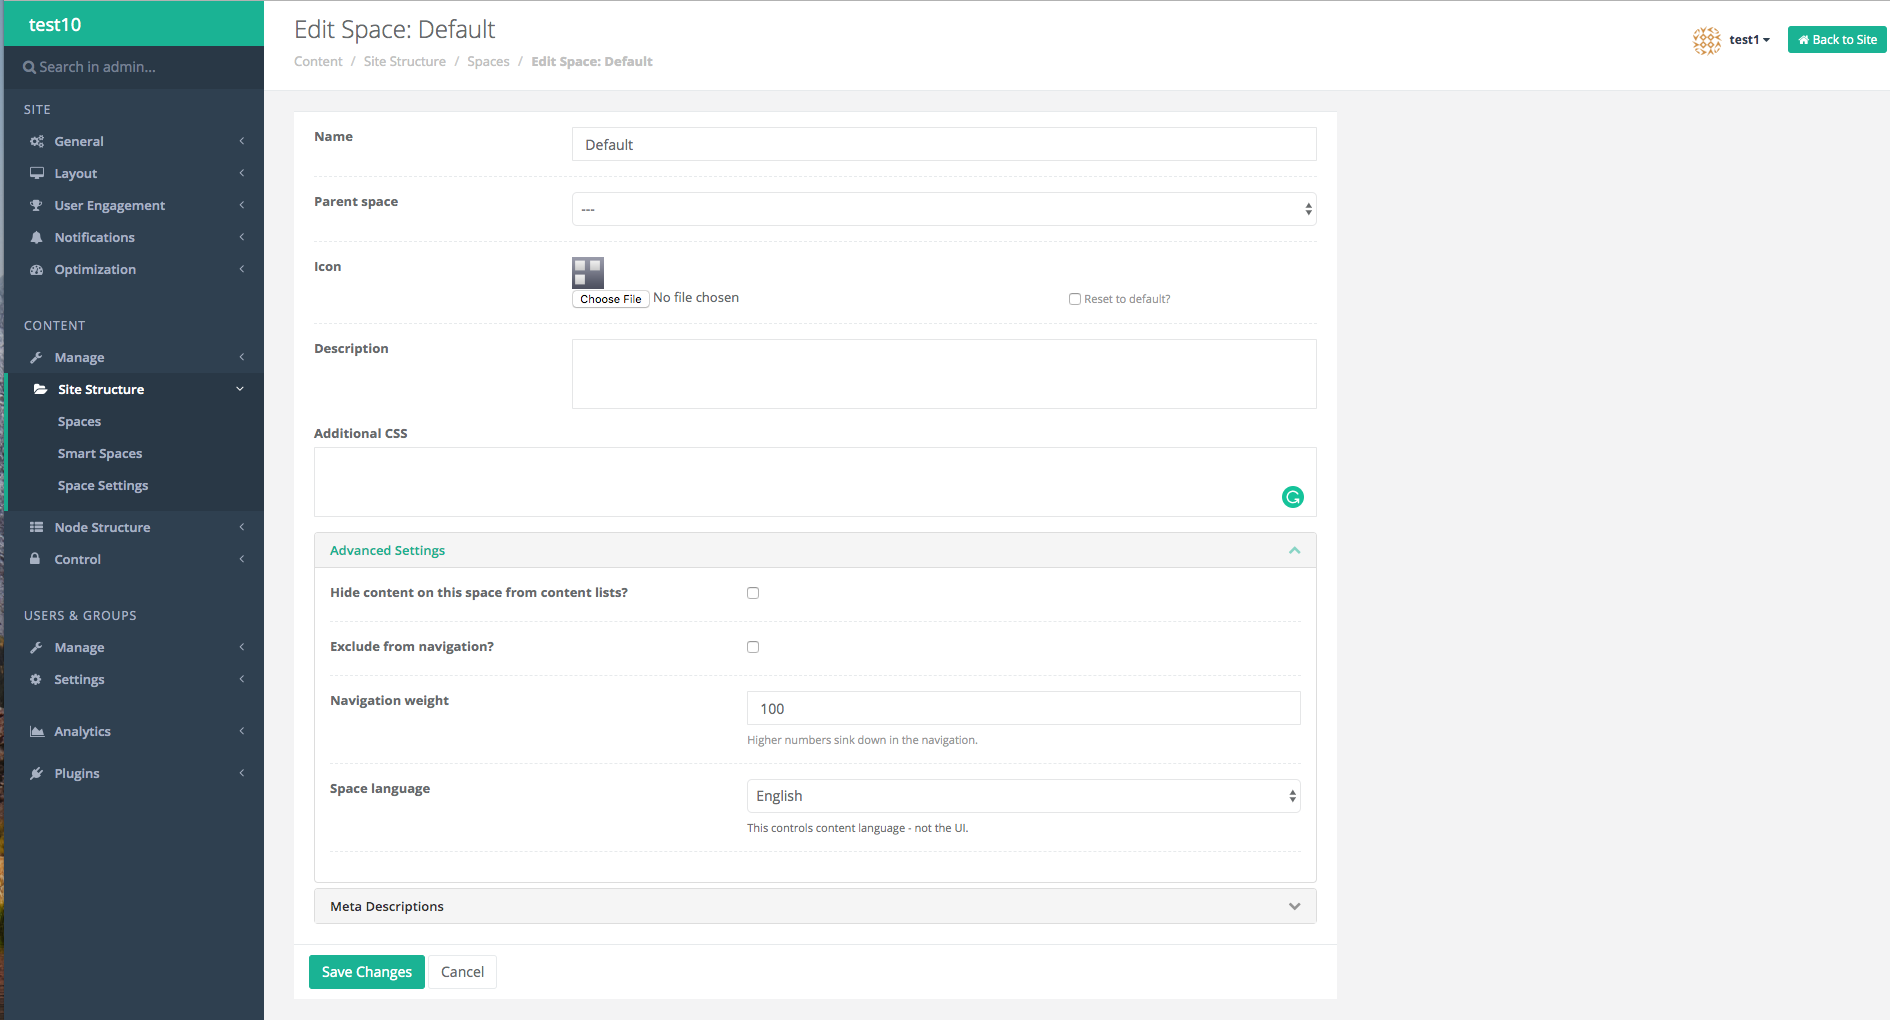
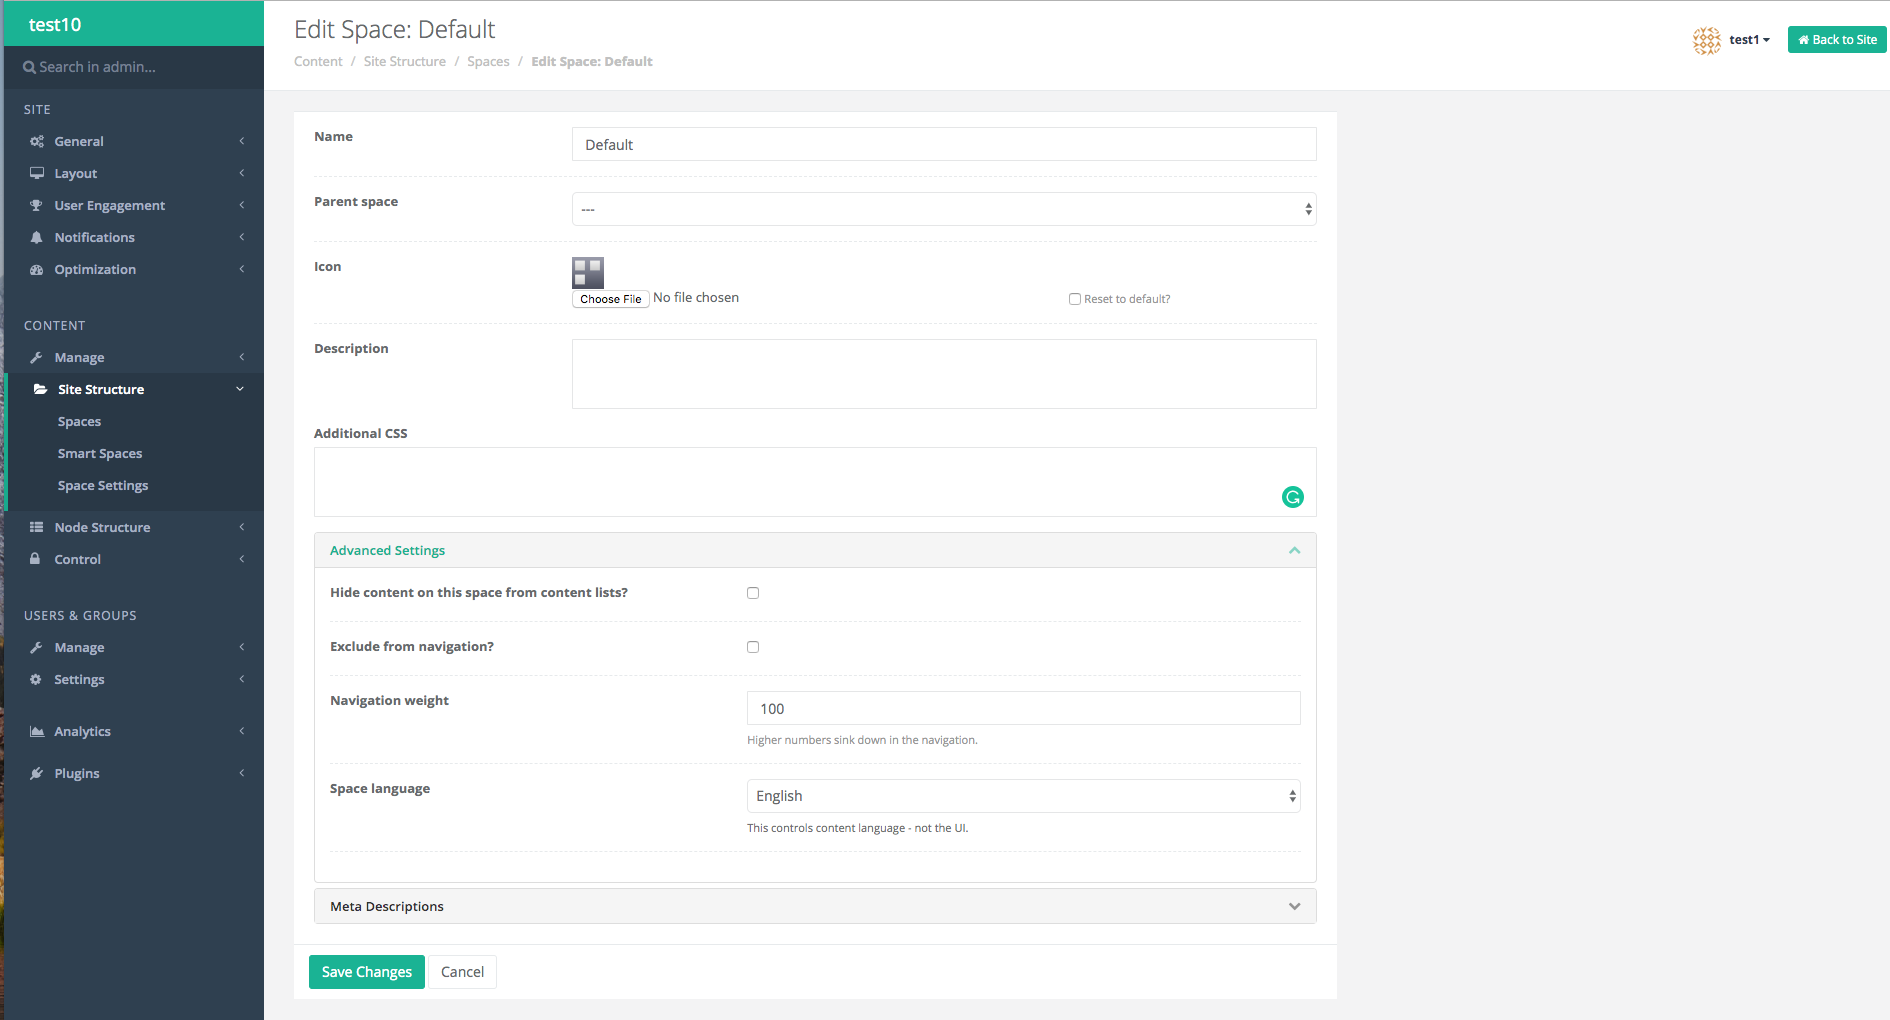
Result: The Edit Space:[space name] page will display where you can edit the space details. - Select the Advanced Settings drop-down menu for more settings.
Result: Four more configurable settings will appear. - Locate the Navigation weight text field and enter a numeric value relative to the other spaces to move the space up or down in the list of spaces. (Higher numbers sink down in the navigation).
- Click the SAVE CHANGES button to save your changes.
Result: A successful save will result in a redirect to the Manage Spaces page.

Delete Space
To delete a space, perform the following actions:
- Locate the space on the Manage Spaces table, and click the Delete (trashcan) icon to the right of the space name.
Result: The Delete the space ‘[space name]’ window displays with two options: remove the content or move it to another space. - Click the OK button after selecting the appropriate option.
Result: A green bar at the top of the page will appear with a message that reads "The space was deleted successfully."

Edit Space Details
To edit space details, perform the following actions:
- Locate the space you want to edit and click the edit (pencil) icon.
Result: The Edit Space: [Space name] page will display. - There are five main areas to configure:
a. Provide a Name in the text field.
b. Select the Parent Space if applicable.
c. Set an Icon by choosing a file.
d. Provide a Description in the text field.
e. A text field to add Additional CSS. - There are four additional settings that you can configure by opening the Advanced Settings drop-down menu:
a. A checkbox to hide content on a space from content lists.
PRO TIP: Check this box for the Help space since the content there relates to AnswerHub and is typically not pertinent to your site's community discussions.
b. A checkbox to exclude the space from the navigation.
c. A text field to enter a Navigation Weight to determine the position of the space in the navigation list.
Smaller numeric values will appear higher up in the list, while larger numeric values appear lower in the list.
d. A drop-down menu to select the language for the space.
NOTE:This option determines the search language for the new space, not the AnswerHub User Interface (UI).
- If you have the SEO Support plugin enabled then you will see an additional menu called Meta Descriptions. For details and a video about SEO Support, please visit the SEO Support page under the Newest Admin Features category.
- Click the SAVE button to save any changes.

Manage Space Permission Options
To manage space permission options, perform the following actions:
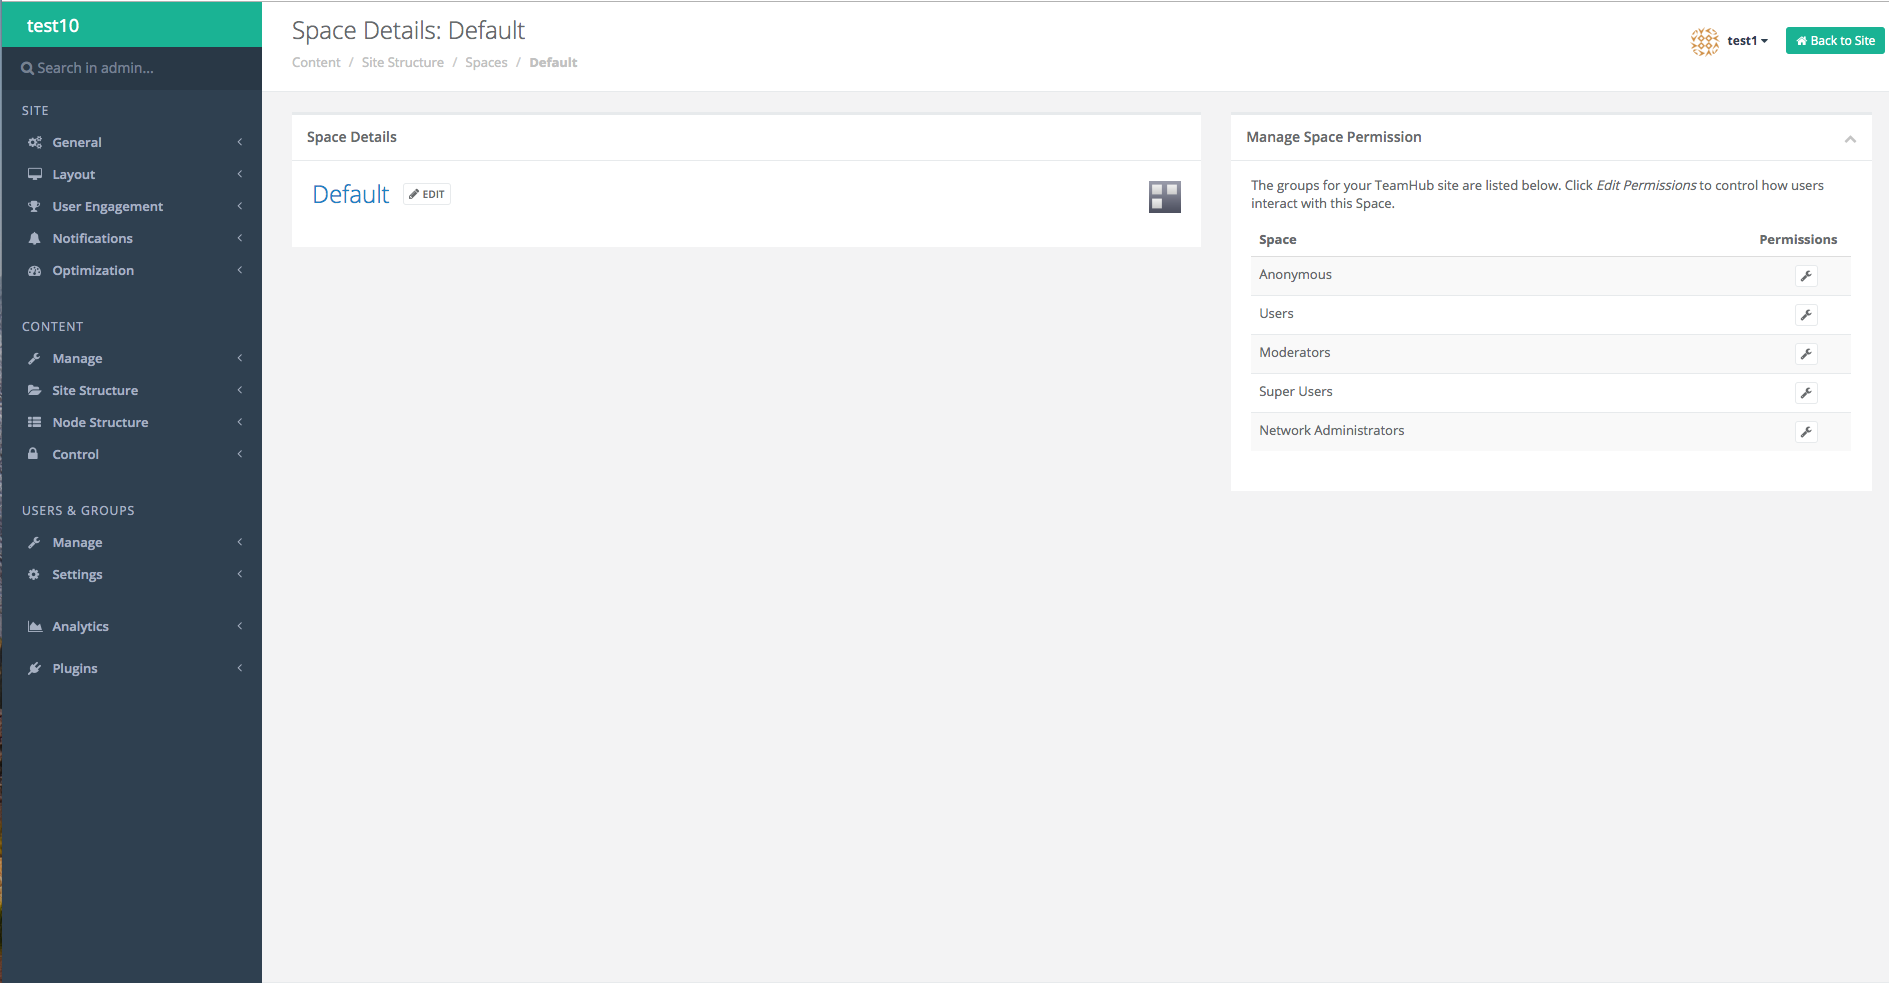
- Select the space that requires changes to its permission settings by clicking the name of the space from the table.
Result: The [space name] page will display where you can edit the space details and manage space permissions. - Locate the group whose permissions you need to edit, then select the wrench icon at the end of the group's row.
Result: The Permissions - [group name] screen will display. - Select the wrench icon from the corresponding column and select Advanced from the drop-down menu.
Result: The Advanced editor window will display. - To assign or revoke permissions, click the Status drop-down menu from the corresponding row and select one of the following:
a. Grant: Assigns the selected permission to the group for the selected site, space, or subspace (depending on which column you selected in step 3).
b. By Reputation: When you select this option, a field displays in the reputation column. Enter the number of reputation points that a user must have to be assigned this permission.
For example: If you enter 10 in this box, a group member must have a reputation that meets or exceeds 10 to be assigned this permission automatically.
c. Revoke: Removes a previously granted permission.
For example: If the border is green and the fill color is red, the permission has been granted at a higher level in the AnswerHub Hierarchy, but is revoked at the current level.
NOTE:If the border of the drop-down permission box is a different color than the fill color, that means the permission was inherited from elsewhere, but is being overridden for the selected site, space, or subspace. Remember that whichever text, “Revoked” or “Granted,” displays in the box, is the current state of the overridden permission in the selected space.
- Click the OK button.
Result: The granted, revoked, or by-reputation permissions display in the column you selected in step 3.

Updated 3 months ago
